4. IAM (Identity & Access Management)
Admin privileges are available to users of the Admin Role only. For a new L7|ESP install, this consists of only the admin@localhost user. To access the IAM app of L7|ESP, log in as admin@localhost (or another user with the Admin Role).
As an Admin, you can view the entire system, configure the system, give permission to other users of the system, manage users, and more.
4.1. Manage Workgroups and Personnel
The sections to follow provide instructions for how to manage lab and personnel access (i.e., Workgroups, Roles, and Users) in L7|ESP through the IAM app.
4.1.1. Manage Users
Create New User
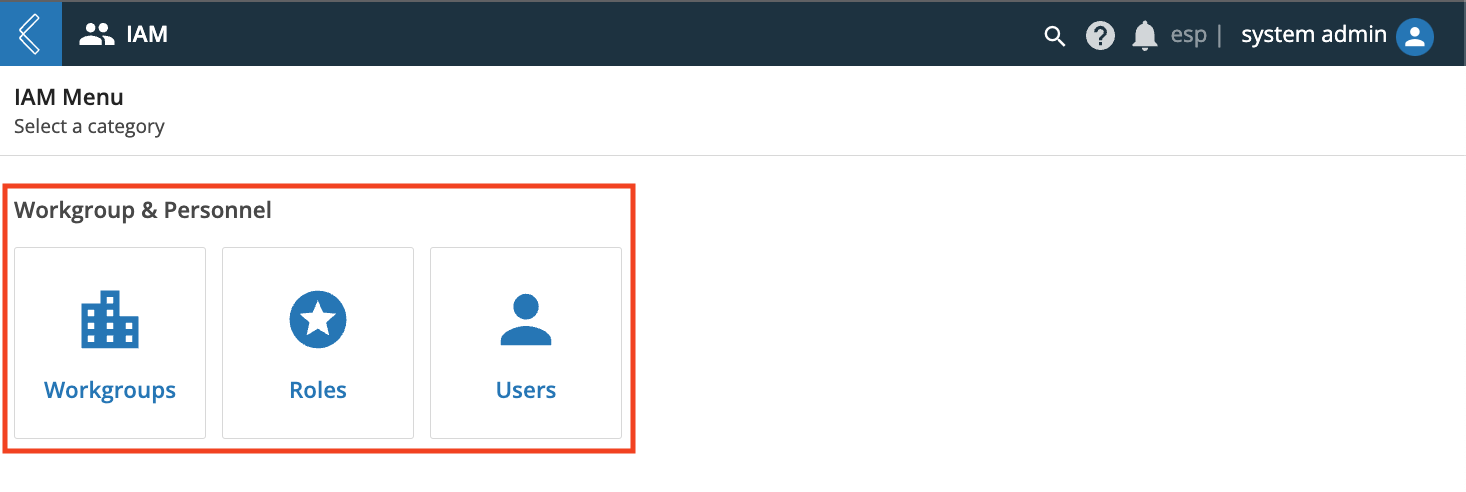
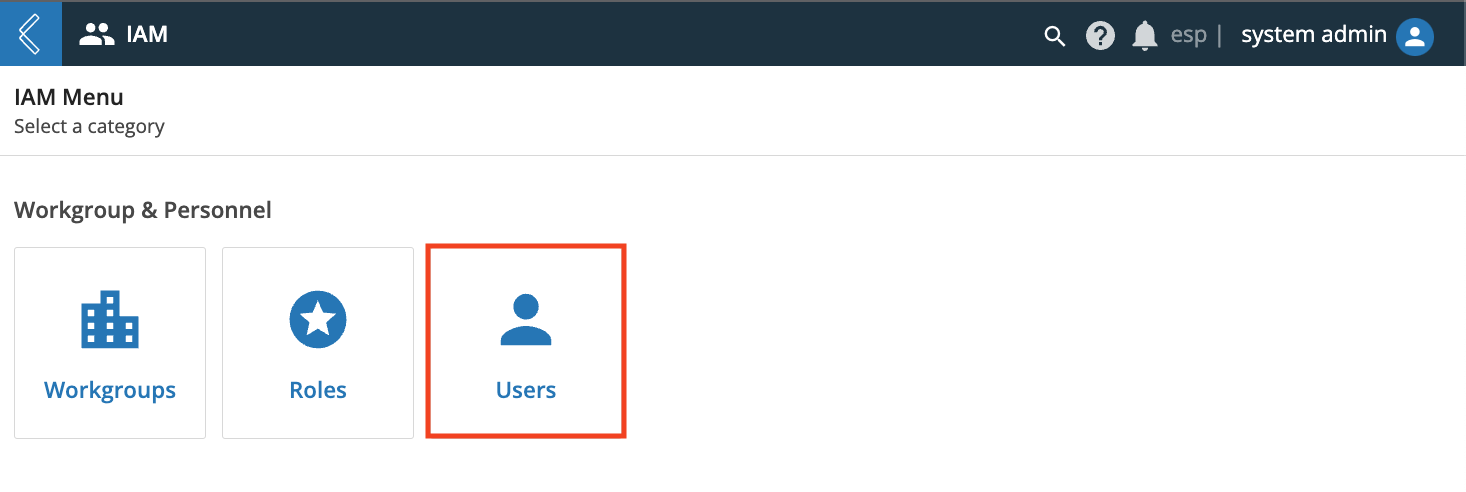
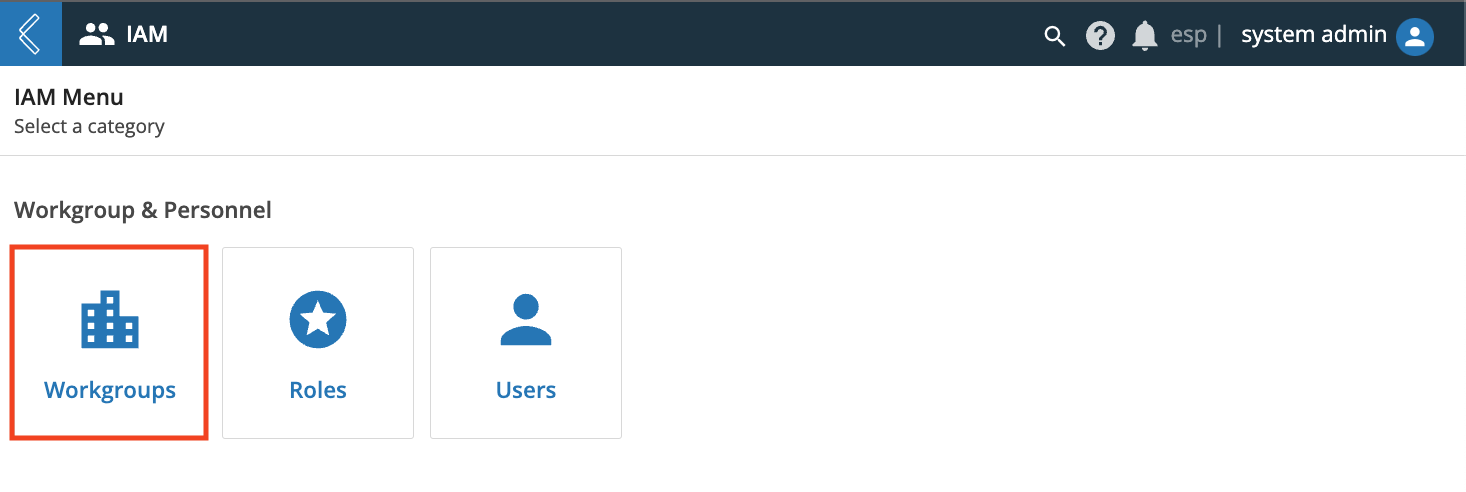
Click the IAM app and then click Users from the IAM menu to access the Users page.
Click + New User.

Enter information for the new user:
Enter the Name of the user.
Enter the user's Email.
Enter a unique Username.
Set up a default Password. Confirm the Password.
Note
Users login to L7|ESP using their username, not email.
Optional: Enter a Description (e.g., Hired on August 19, 2019). Check Force Password Reset, which will require the user to create a new password upon logging in.
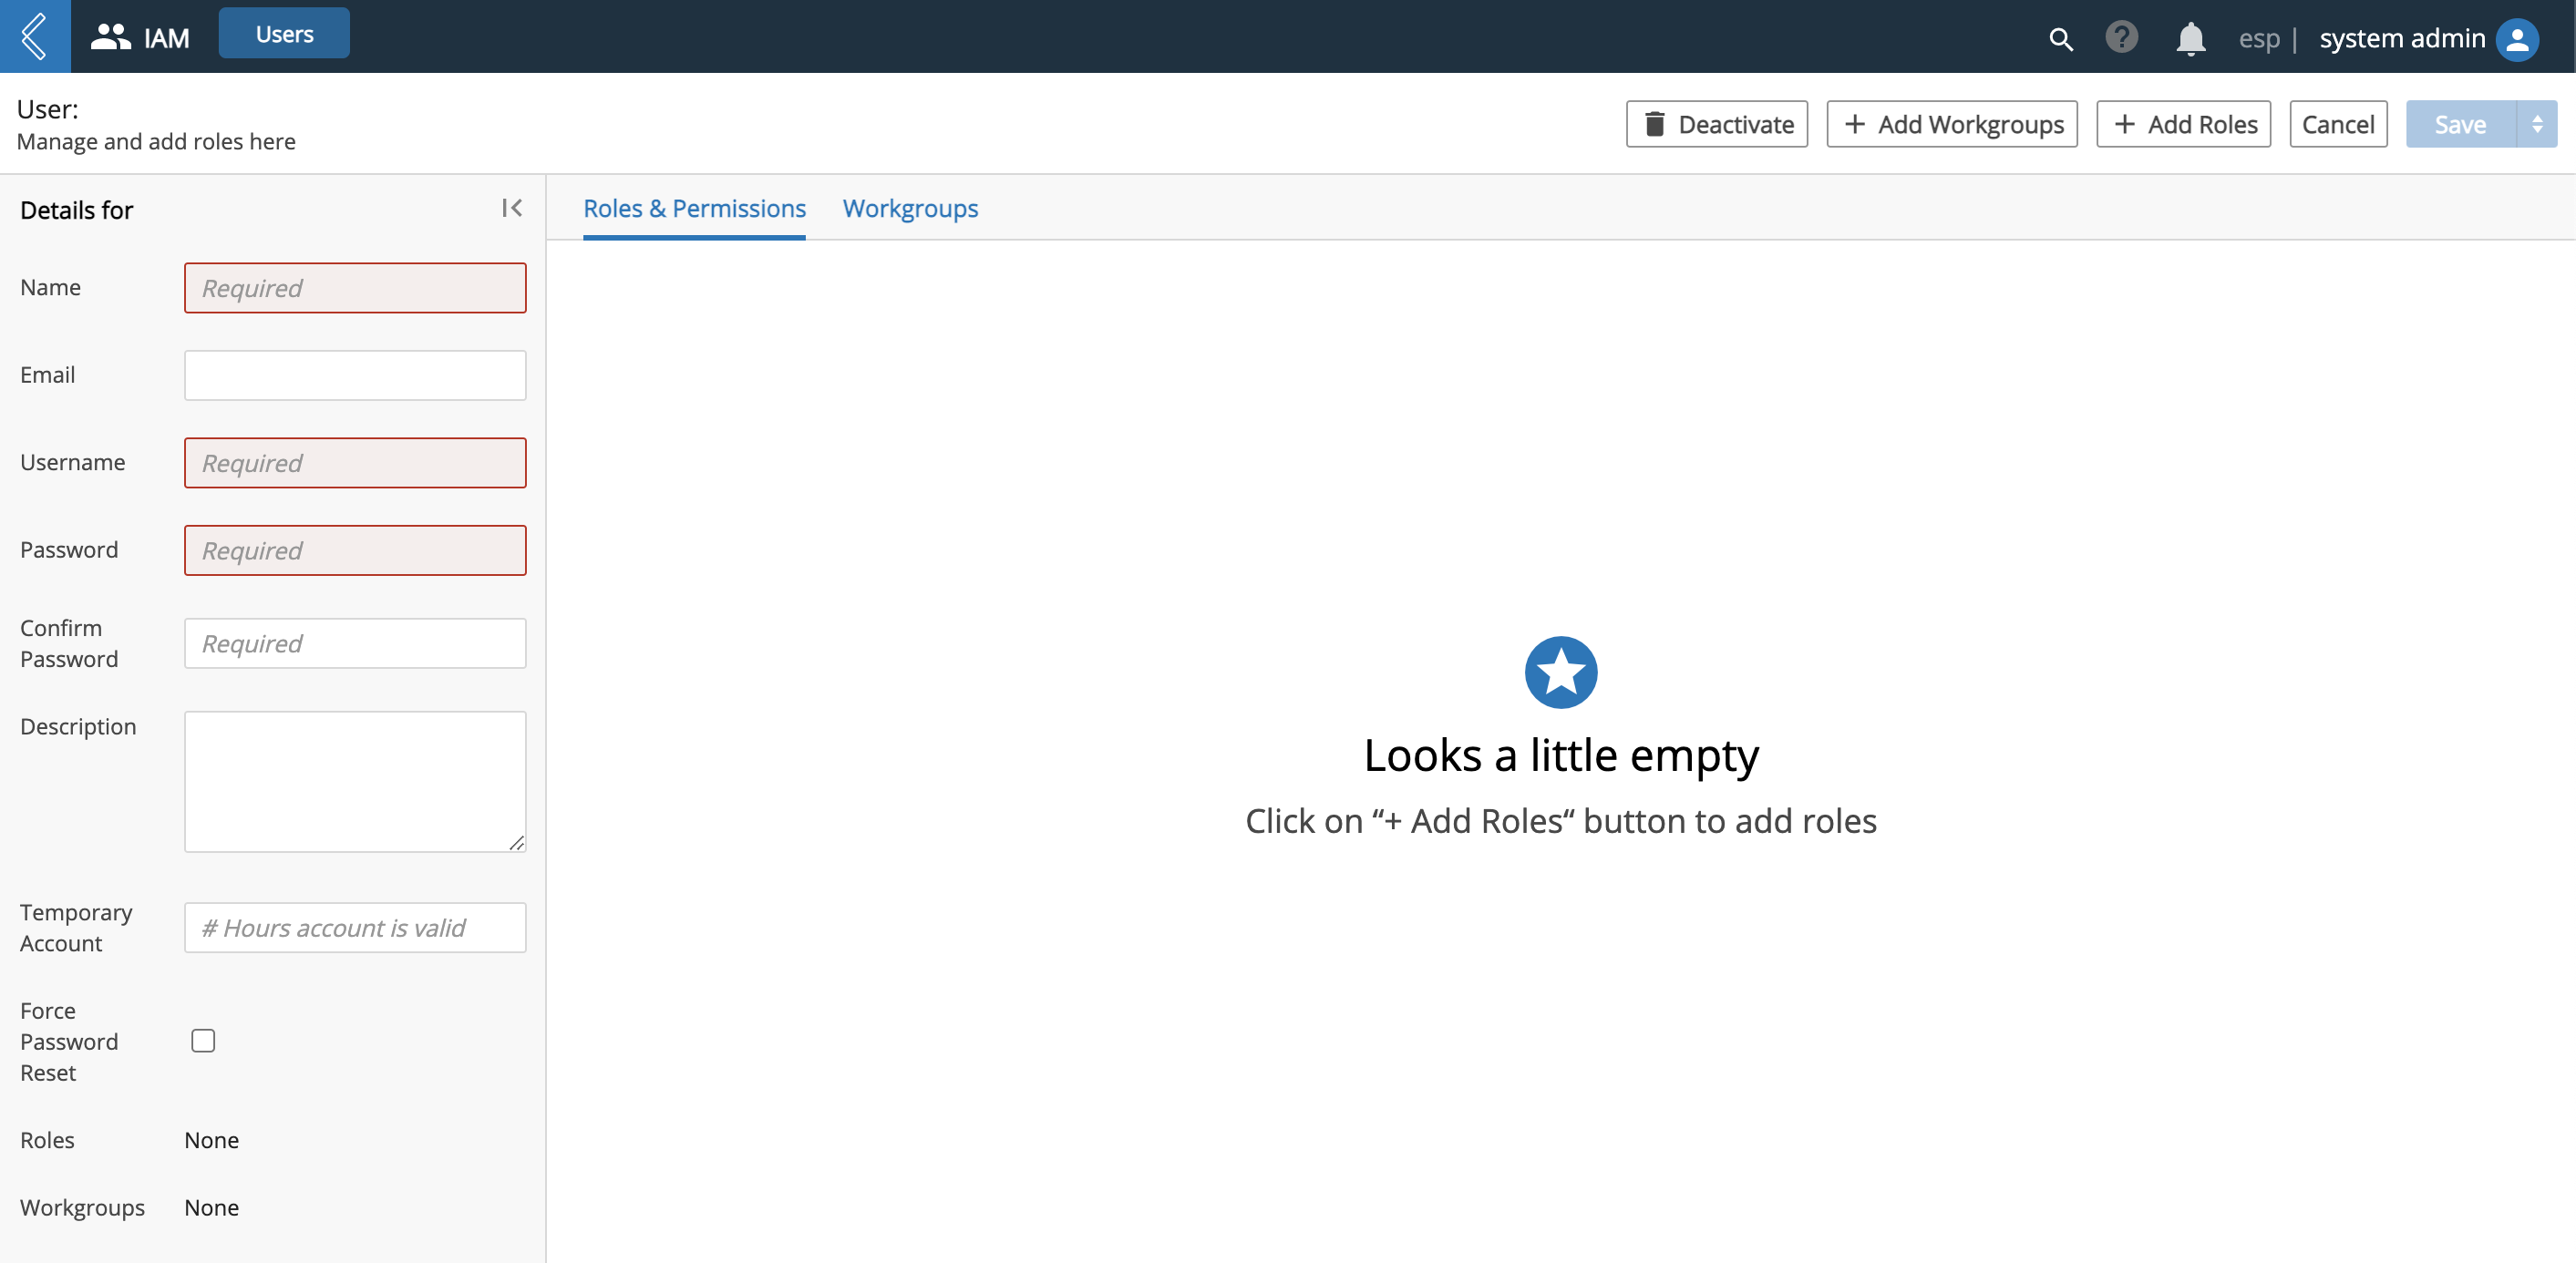
Click + Add Roles to assign the user to one or more Roles. Once assigned, the Role(s) will appear under the Roles & Permissions tab.
Click +Add Workgroups to assign the user to one or more Workgroups. Once assigned, the Workgroup(s) will appear under the Workgroups tab.
Important
Before you can assign a Role or Workgroup to a user, the Role or Workgroup must already exist. To create a new Role, refer to Create New Role. To create a new Workgroup, refer to Create New Workgroup.
Save the new user.
Edit User
Click the IAM app. Click Users from the IAM menu to access the Users page.
Click the Name of a user.
Edit the desired information (e.g., Name, Email, Password, Description, Roles, Workgroups).
Save the updated user.
Deactivate User
Click the IAM app. Click Users from the IAM menu to access the Users page.
Click the Name of a user.
Click Deactivate. (A user can be reactivated by clicking Reactivate.)
Hint
Deactivating a user changes that user's Status to "Inactive," which can be observed from the Users page.
4.1.2. Manage Roles
Laboratories often have complex working environments where scientific and technical stakeholders perform different work functions, ultimately working together to produce results. L7|ESP was designed with this in mind and provides a platform to streamline the interactions between various laboratory personnel through Roles. Examples of Roles include scientists, lab technicians, bioinformaticians, etc.
You can create and define a Role and assign users to that specific Role. Roles make it easy to manage large groups of users because, when you make a change to a Role, the change is automatically applied to all users assigned to that Role.
Create New Role
Create a Role to define the actions that user(s) assigned to that Role can perform.
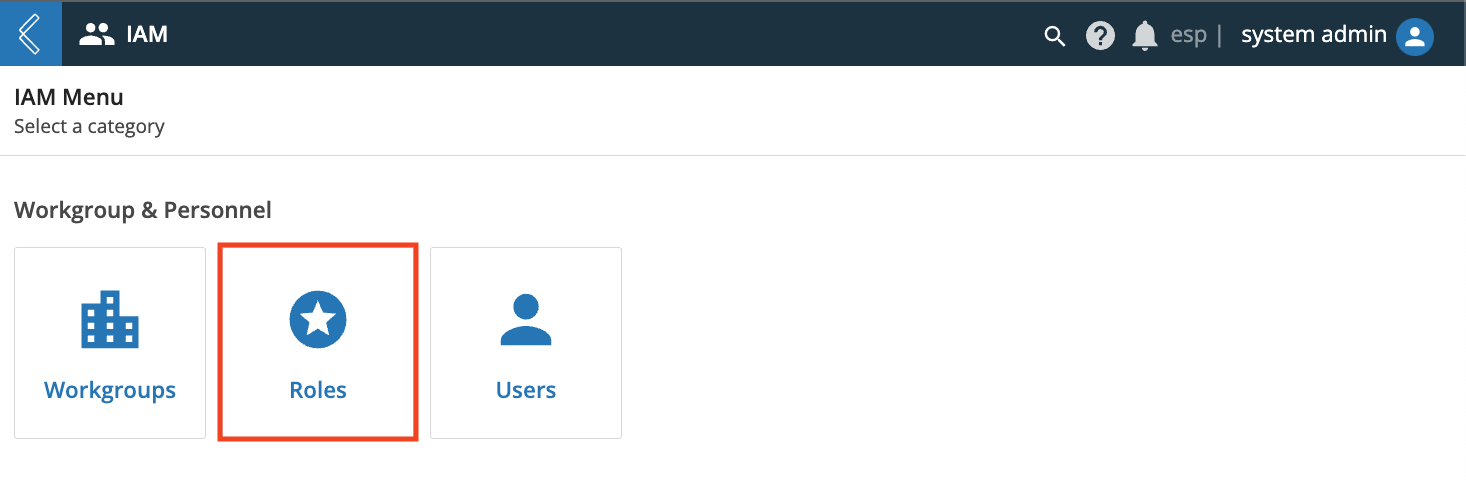
Click the IAM app. Click Roles from the IAM menu to access the Roles page.
Click + New Role.

Enter information for the new Role:
Enter the Name of the new Role.
Optional: Enter a Description.
Optional: Enter one or more Tag(s).
Optional: Click + Add Users and select one or more user(s) to assign to this Role. Any Role (other than the Admin Role) can have 0 members. Users can be assigned to multiple Roles.
Optional: Click the Permissions tab and select one or more Permission(s) to assign to the Role. Permissions determine the actions that the user assigned to this Role can perform.
Optional: Click the Applications tab and select one or more Application(s) to assign to the Role. The user will be able to view/access the assigned Application(s).
Optional: Select a Default App. Upon logging in, a user assigned to this Role will automatically be taken to the selected Default App.
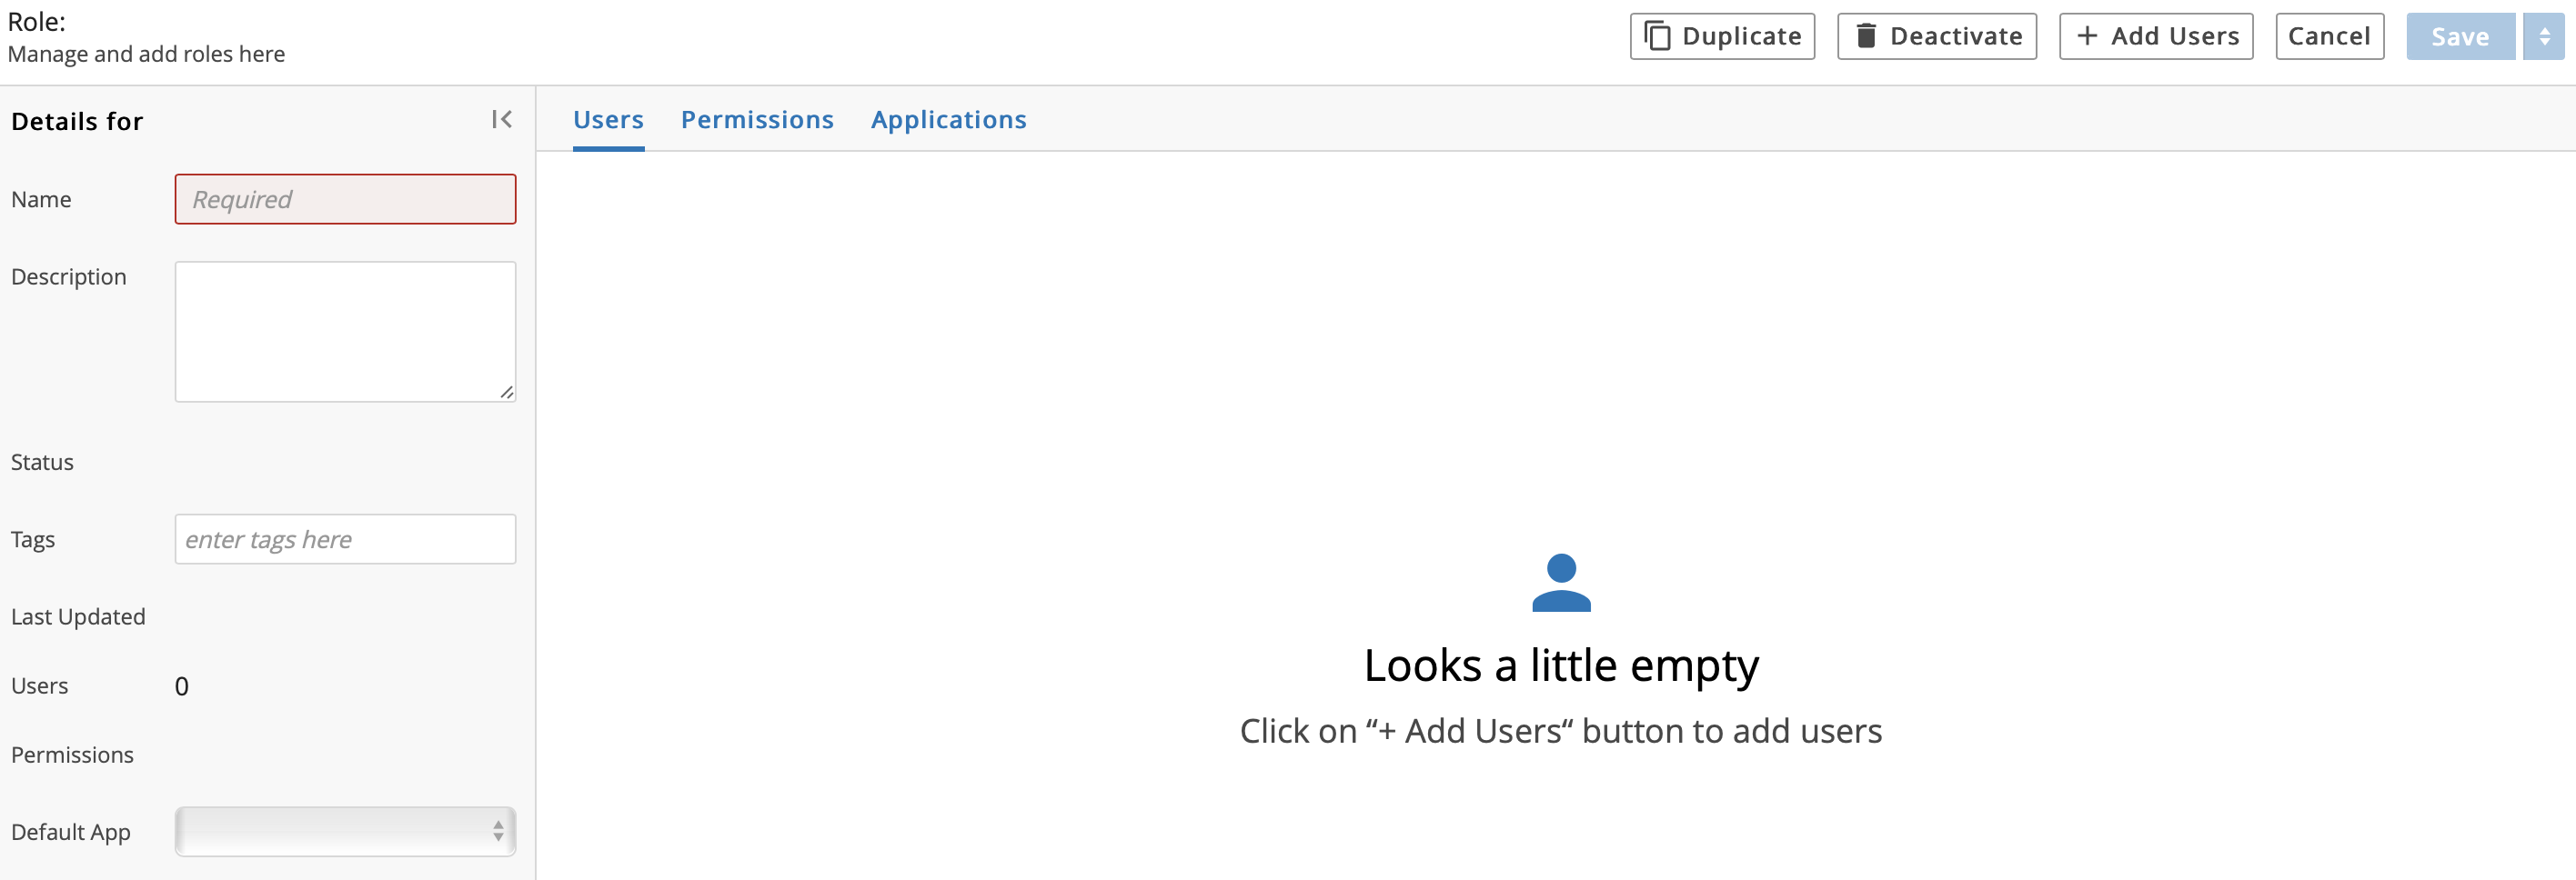
Save the new Role.
Edit Role
Click the IAM app. Click Roles from the IAM menu to access the Roles page.
Click the Name of a Role.
Edit the desired information (e.g., Name, Description, Tags, Users, Permissions). You can also duplicate the Role by clicking Duplicate.
Hint
Creating a new Role that is similar to an existing Role is quick and easy with the Duplicate button. Click Duplicate on an existing Role to copy that Role's permissions and associated information; then, make any updates to the new Role and Save.
Save the updated Role.
Deactivate Role
Click the IAM app. Click Roles from the IAM menu to access the Roles page.
Click the Name of a Role.
Click Deactivate. (A Role can be reactivated by clicking Reactive.)
4.1.3. Manage Workgroups
You can create Workgroups and assign specific users to each Workgroup, keeping users and resources organized.
A Workgroup restricts what a user can see and restricts the content that the user can perform actions on.
Create New Workgroup
Click the IAM app. Click Workgroups from the IAM menu to access the Workgroups page.
Click + New Workgroup.

Enter information for the new Workgroup:
Enter the Name of the new Workgroup.
Optional: Enter a Description.
Optional: Enter one or more Tag(s).
Optional: Click + Add Users to assign one or more user(s) to the Workgroup.

Save the new Workgroup.
Edit Workgroup
Click the IAM app. Click Workgroups from the IAM menu to access the Workgroups page.
Click the Name of a Workgroup.
Edit the desired information (e.g., Name, Description, Tags, Users).
Save the updated Workgroup.
Deactivate Workgroup
Click the IAM app. Click Workgroups from the IAM menu to access the Workgroups page.
Click the Name of a Workgroup.
Click Deactivate. (A Workgroup can be reactivated by clicking Reactive.)
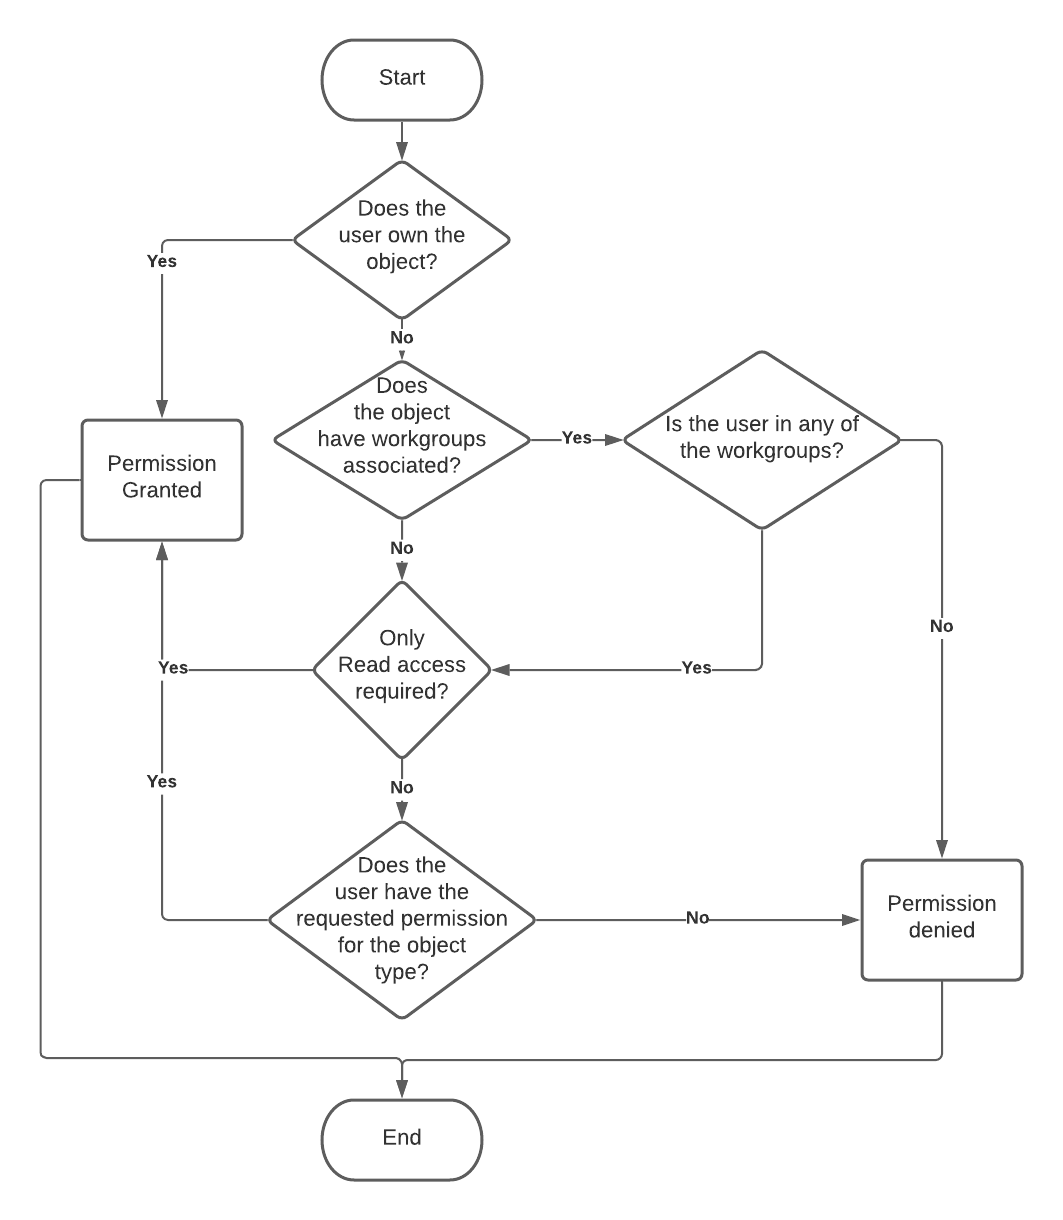
4.2. IAM Permissions
The IAM Permissions tab allows administrators to configure what actions users in a certain role can take for particular types of ESP objects. ESP uses the following decision flow to determine if a user has permission to perform a particular operation on a particular resource:
The available permissions for each object type and their meaning is outlined in the table below.
4.2.7. L7|Hub
Object Type |
Permission |
Description |
|---|---|---|
Bundle |
Create |
|
Update |
||
Delete |
Unused at this time. |
|
Import |
||
Collection |
Create |
Create a Collection in the HUB app or via API call. |
Update |
Update a Collection in the HUB app or via API call, including changing the collection name, description, tags, and included content. |
|
Delete |
Archive/Unarchive a Collection via API call or in the UI. |
|
Import |
Unused at this time. |
|
Collection Definition |
Create |
|
Update |
Unused at this time. |
|
Delete |
Unused at this time. |
|
Import |
Unused at this time. |
|
Supply |
Create |
|
Update |
Unused at this time. |
|
Delete |
||
Import |
Unused at this time. |
4.2.8. Configuration
Object Type |
Permission |
Description |
|---|---|---|
Configuration |
Create |
Create a Configuration in the Configuration app or via API call. Also used when importing a Configuration via HUB or API Call. |
Update |
Update a Configuration in the Configuration app or via API call, including changing the Configuration name, configuration values, and secret values. |
|
Delete |
Archive/Unarchive a Configuration via API call or in the UI. |
|
Import |
Unused at this time. |
|
Internalization |
Create |
Unused at this time. |
Update |
Unused at this time. |
|
Delete |
Unused at this time. |
|
Import |
Import an Internationalization bundle via the Translations app or API call. |
4.2.9. Manufacturing Execution System
Object Type |
Permission |
Description |
|---|---|---|
Manufacturing Execution System |
Quality Review |
Perform Quality Review: mark as reviewed, request changes, fail batches, and enter Quality Review Signature. |
Operations Review |
Perform Operations Review: mark as reviewed, request changes, and enter Operations Review Signature. |
|
Data Entry |
Update, enter data, acknowledge label reconciliation, and make changes to data when requested by Quality Review. |
|
Batch creation and Print Labels. |
4.2.10. Notebooks
Object Type |
Permission |
Description |
|---|---|---|
Notebook |
Create |
Create a Notebook in the Notebooks app or via API call. |
Update |
Update a Notebook in the Notebooks app or via API call, including changing the Notebook name, description, and tags. |
|
Delete |
Archive/Unarchive a Notebook via API call or in the UI. |
|
Import |
Unused at this time. |
|
Code Authoring |
||
Notebook Entry |
Create |
Create a NotebookEntry in the Notebooks app or via API call. |
Update |
Update a NotebookEntry in the Notebooks app or via API call, including changing the NotebookEntry name, description, tags, and entry information (widgets with configuration). |
|
Delete |
Archive/Unarchive a NotebookEntry via API call or in the UI. |
|
Import |
Unused at this time. |
|
Code Authoring |
Controls whether the user can use the Generic renderer widget. |
|
Notebook Entry Template |
Create |
Create a NotebookEntryTemplate in the Notebooks app or via API call. |
Update |
Update a NotebookEntryTemplate in the Notebooks app or via API call, including changing the NotebookEntryTemplate name, description, tags. and entry information (widgets with configuration). |
|
Delete |
Archive/Unarchive a NotebookEntryTemplate via API call or in the UI. |
|
Import |
Unused at this time. |
|
Code Authoring |
Controls whether the user can use the Generic renderer widget. |